From Curb to Cozy: A DIY Fall Sign Transformation with a Repurposed Cabinet Door
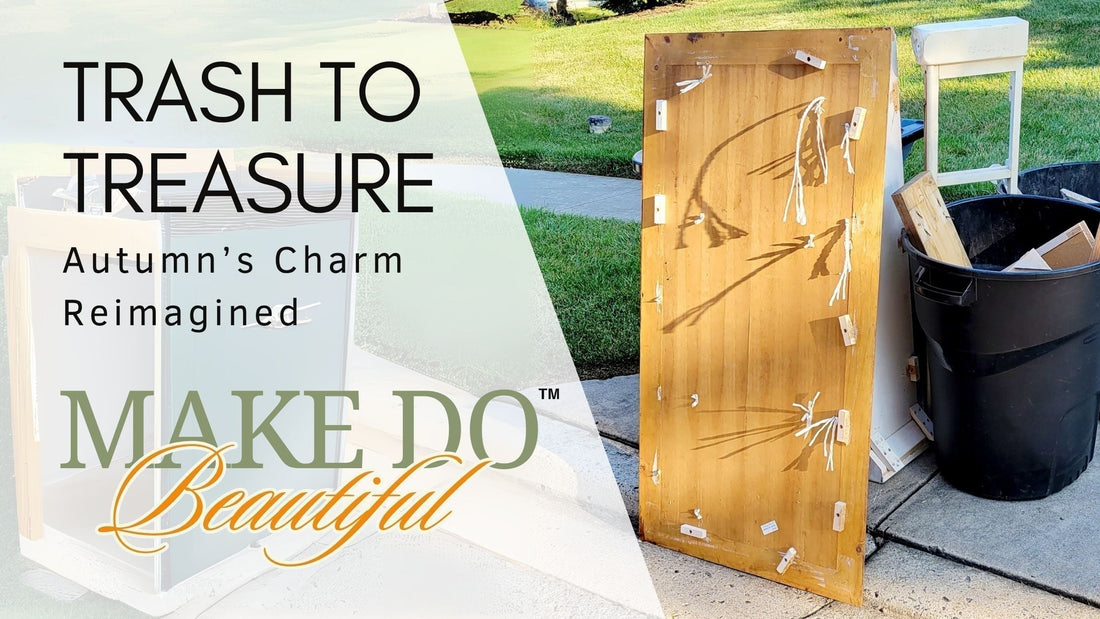
It started as a regular drive to the grocery store—no big plans, just another day. But then, it happened. That all-too-familiar urge to rubberneck kicked in, something only DIY fall sign makers will truly understand. Out of the corner of my eye, I spotted a large, discarded cabinet door, sitting on the curb, destined for the landfill. What a find for creative furniture repurposing!

There’s nothing quite like the excitement of rescuing a piece that’s been cast aside. I didn’t have a plan for it yet, but that's never stopped me before. The cleaning process itself is often where the magic happens. As I scrub away years of dirt, my mind clears, and ideas flow. Armed with a trusty lint-free cloth and my favorite 3:1 mix of mineral spirits and water, I got to work cleaning the door, peeling back the layers to reveal its hidden potential for upcycled fall decor.
As the grime lifted, so did any uncertainty about its purpose. I suddenly remembered a sparkly wood pumpkin I’d found years ago at a Baltimore flea market. That little pumpkin was about to have its moment. The plan? This cabinet door would transform into a unique DIY wood sign tutorial—a beautiful piece ready to showcase the charm of my favorite season on my autumn mantel decor.
I started with a coastal wash of black and white furniture paint, layering it gently until the surface had just the right texture. This is how I achieved that lovely washed wood paint technique (steps are below!). Next, I grabbed my favorite stencil brush to apply tree branches and added those classic autumn leaves using acrylic paint. Three coats of ultra-matte polycrylic sealed the work, and then came the hardest part—waiting three whole days for it to cure.

The final touch was the sparkly pumpkin. It’s funny how something so small can become the centerpiece of a project. With a little help from my go-to adhesive, Liquid Nails, I secured it in place. Another three days of drying, and voilà! The finished piece found its new home, filling the room with a warm, autumn glow. This whole process of making a fall welcome sign from a castoff piece truly brings me joy.

There’s something so special about turning everyday objects into something beautiful—especially when we're focused on sustainable fall crafts. I believe that some of the best treasures are hidden in plain sight, just waiting for a little creativity and care to bring them to life. This project proves that repurposed cabinet door ideas can lead to truly soulful, collected pieces for your home. We can all find empowerment through small, meaningful actions, transforming what we already have into beautiful DIY seasonal home decor.

Creating the Washed Wood Look: A Quick Guide
-
Step 1: Apply white paint evenly, covering 100% of the front and back of the board. Allow to dry.
-
Step 2: On the front, apply heavy patches of black paint, covering approximately 30% of the surface. Allow to dry.
-
Step 3: On the front, using a water spray bottle, lightly mist the surface. Then, using a chip brush, apply small amounts of both white and black paint intermittently. Repeat until you achieve the desired wash effect.
I would love to hear about your own "curb appeal" rescues! Have you ever transformed a piece of trash into a treasure? Share your stories and how you're embracing creativity and repurposing this season in the comments below—let’s connect together!
Frequently Asked Questions
How do I clean old wood for a DIY project?
A simple, effective mix is a 3:1 ratio of mineral spirits and water applied with a lint-free cloth. This cuts through grime without damaging the wood surface.
What paint is best for painting a cabinet door for a sign?
I prefer furniture paint (like a chalk or milk paint) because it adheres well, dries quickly, and is easy to layer for textured or washed effects.
How long does polycrylic take to cure completely?
While it may be dry to the touch in a few hours, it typically takes a full three days for an ultra-matte polycrylic finish to fully cure and harden.
What is the best adhesive for attaching wood decor to a sign?
For strong, permanent bonds between wood pieces, I always reach for an industrial-strength liquid adhesive, such as Liquid Nails.
How can I create a washed wood paint effect?
Start with a base coat, add patches of a darker color, then lightly mist with water and use a chip brush to intermittently apply small amounts of both colors, blending until you get the desired watery, layered wash.
Where can I find materials for upcycled home decor?
The best treasures are often right in front of you! Look at curbside discards, thrift stores, flea markets, or even your own attic and garage.
How can I make my fall mantel cozy?
Layer textures (like chunky knits or burlap), incorporate natural elements (gourds, small branches), and use pieces with a story, like a beautiful, repurposed cabinet door sign.
What's the difference between polycrylic and polyurethane?
Polycrylic is water-based, dries quickly, has low odor, and doesn't yellow over time, making it ideal for light-colored paint. Polyurethane is typically oil-based, stronger, and can add a slight amber tint.
Is repurposing furniture an eco-friendly choice?
Absolutely! It's a wonderful way to practice sustainability and conscious consumption by keeping materials out of the landfill and giving them new life.
How do I stencil on a textured painted surface?
Use a minimal amount of paint on your brush (off-load it well!) and use a gentle dabbing motion (stippling) rather than a sweeping stroke. This prevents paint from bleeding under the stencil edges.

