How to Remove Mildew from Your Walls Before Painting

OK…this topic is not fun: Cleaning mildew off walls before painting them. Painting a room is a BIG project, and when an obstacle like mildew stands between you and your vision, you may be tempted to take a shortcut. You'll ask yourself, “I can just paint over it, right?” Sure, there are some mold-killing paints out there. However, I highly recommend NOT skipping the cleaning process! You’ll feel better about yourself, your home's environment, and the time you invested in your project.
Mildew is a form of mold in its early stages; growing easily in damp, warm and humid or water-damaged areas. Not only is mold and mildew unsightly, but certain strains can cause allergies and serious respiratory conditions along with the damage they can cause to your walls. Safely clean and disinfect painted walls with common household supplies such as detergent and bleach.
(Disclosure: I receive commission for purchases made using Amazon links in my article. I appreciate your support!)
Your supply list:
- Mild non-ammonia detergent
- Warm water
- Clorox Bleach #CommissionEarned
- 3 spray bottles#CommissionEarned
- Disposable rags or towels
- Rubber gloves#CommissionEarned
- Safety goggles#CommissionEarned
- Respirator mask#CommissionEarned
- Plastic sheeting#CommissionEarned
- Tape
- Rust-Oleum Zinsser Mold Killing Primer #CommissionEarned
 Step #1: First check for mold and mildew damage in/under the drywall before you begin. If the drywall crumbles to the touch or has large cracks in it, you must consult with a professional on how to proceed. Otherwise, proceed to Step #2.
 Step #2: Prep the affected are by first removing furniture and decorative items. To protect yourself wear protective rubber gloves #CommissionEarned , goggles #CommissionEarned and a mask. Position plastic sheets #CommissionEarned on the floor, over windows and vents, and then secure with tape.
 Step #3: In a spray bottle #CommissionEarned mix 3 parts warm water to 1 part detergent. Spray the solution on to the affected area, not just the mildew spots. Scrub mold of with a clean rag or towel. Fill a second spray bottle #CommissionEarned with clean water and spray to rinse the area. Wipe dry with a clean rag or towel.
 Step #4: In a third spray bottle #CommissionEarned mix 1 part Clorox Bleach #CommissionEarned to 2 parts water. Spray the mixture onto the affected area and leave it for 10 minutes. Then rinse the area with the spray bottle #CommissionEarned filled with only water. Again, dry with a clean rag or towel.
Step #5: Discard all the used towels and plastic sheets #CommissionEarned in a tightly tied garbage bag and dispose with normal garbage. Flush all fluids used in the process in the toilet. Ammonia is water soluble and can be flushed down the toilet.
If there are stains left after cleaning and disinfecting, that's OK. Proceed to Step #6.
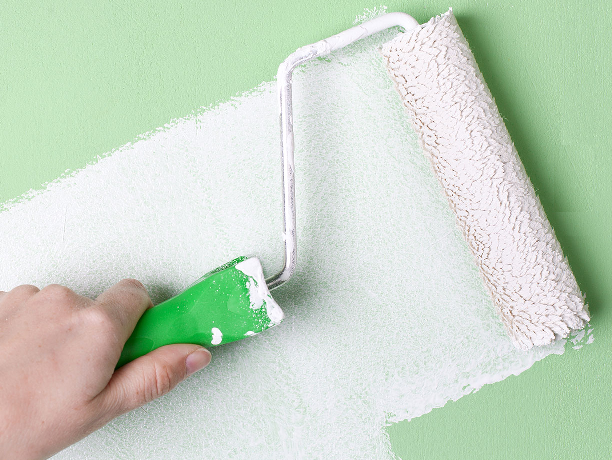
 Step #6: Apply Rust-Oleum Zinsser Mold Killing Primer #CommissionEarned to the affected and surrounding areas that are exposed to moisture. It is a mold killing primer is a water based fungicidal protective coating that can be used to paint over all existing mold, mildew, moss, fungi, odor causing bacteria and any other fungal organisms.Once dry, you are now ready to proceed painting your room as one would normally.
If the mold is not too widespread and you prefer using a more green method of removal, spray the mold with vinegar and leave for 1 to 2 hours. After the time has passed, scrub with a baking soda and water mixture. Rinse with clear water.
(Disclosure: I receive commission for purchases made using Amazon links in my article. I appreciate your support!)