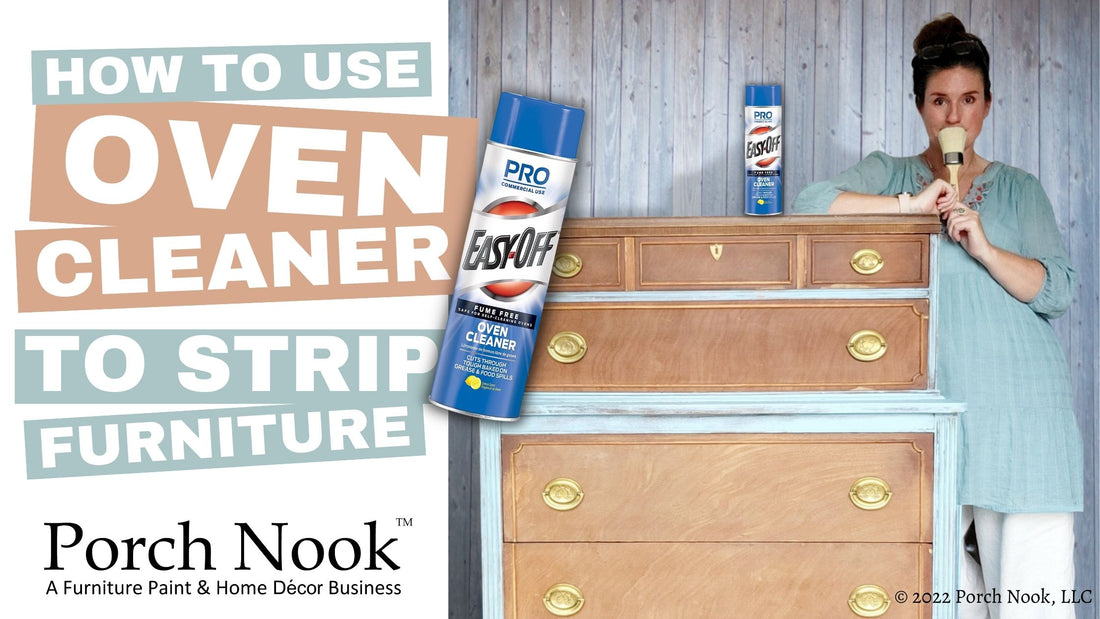
How to Use Oven Cleaner to Strip Furniture
I have a theory as to why this hack is gaining momentum. Researching the furniture refinishing process for a first time DIYer becomes alarmingly daunting very quickly. Who agrees with me? I must confess, all these years I have stayed in my furniture-painting-lane because I could never complete a how-to refinishing article without becoming consumed with frustration. I mean the number of steps, chemicals, tools, manual labor, and hours the process requires…ugh! It became an annual ritual of sorts where I would ceremoniously snap my laptop shut in exasperation and then bury my insecurity into a glass of wine.
Then, one day, I fell upon some dark-web-DIY chatter that caught my attention. I was advised, by simply applying oven cleaner to solid wood furniture, I could achieve very quickly the rustic bare wood look that is so popular (and expensive) these days. I mean, oven cleaner… I could wrap my brain around that! You simply apply, wait, and then remove, right?! Refreshingly, this time, I snapped my laptop shut with a wave of gumption, tore up my kitchen to find the required tools, pulled out a vintage Federal style dresser from my inventory and began testing immediately.

The best part about all this is you most likely have everything you need in your home! Below you will find a list of the tools needed, some safety advice, and the step-by-step instructions. I also added a few personal tips I figured out along the way.

(Disclosure: I receive commission on purchases made using Amazon links in my article. I appreciate your support!)
Tools
- A piece of solid furniture that has finish and/or paint you want removed
- Easy-Off Fume Free Oven Cleaner Spray
- Pot scrub brush
- Dawn liquid dish soap
-
Bucket for your soapy water
TIP: I simply reused a salad mix food container from the grocery store - Connected hose with nozzle spray
- Towels
Safety/Prep
- If the piece you are stripping is vintage and painted, please be sure to test it for lead first!
- This is an outdoor project due to fumes and the hosing down step.
- Protect yourself as you normally would when cleaning your oven, refer to Easy-Off’s safety instructions. I personally wore a mask, goggles and gloves when applying the oven cleaner. And I also wore gloves during the removal process.
- Liberally spread newspaper or tarp under your surrounding work area to protect the ground, home exterior and plants.
Steps
- Always keep your furniture piece in the shade. Doing so will keep the oven cleaner from drying out prematurely.
- Apply a generous layer of oven cleaning spray to the solid wood area(s) you want to strip

- Allow the oven cleaner to sit for at least 30 minutes.
- Fill your bucket with water and add some Dawn liquid dish soap.
- Using the pot scrub brush and soapy water, scrub the heck out of the areas where you applied the oven cleaner.
TIP: During this process it may appear the original finish is not being removed. The water makes the freshly exposed wood appear darker; it isn’t until the piece is fully dry will you see the bare wood in its full glory.

TIP: Use the scrapping tool found on the backside of the pot scrub brush to remove globs of the old finish, and then tap it into a disposable container. I did this because I didn’t want to pour the old finish down the drain or leave it for someone to step on.
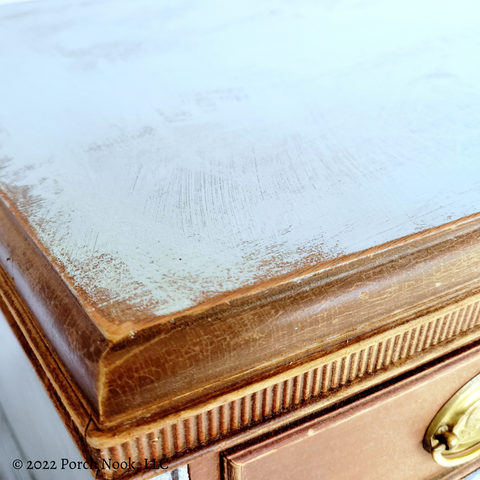
NOTE: I made the creative decision to not seal the newly exposed wood only because I knew it would slightly deepen its earthy tones. I just couldn’t do it… I fell in love with the raw rustic farmhouse look!
So, what do you think? Do you feel frustrated or empowered? It is my hope that this hack excites you as much as it did me. You’re now armed with the knowledge to pursue the curb finds of your dreams. Go forth and may you turn to treasure what others have so carelessly tossed away. Mwah!


